Postal Installation 2021 Guide.
Run all the below commands successfully to get a running Postal server. Ensure you are replacing yourdomain.com with the actual domain name you intend to use.
This document only applies to ubuntu 18.04 (try at your own risk for other versions)
The 2021 method for postal installation needs to use Docker on The VPS.
Steps:
1.Set up the repository
sudo apt-get update

$ sudo apt-get install \
    apt-transport-https \
    ca-certificates \
    curl \
    gnupg \
    lsb-release
2. Add Docker’s official GPG key:
curl -fsSL https://download.docker.com/linux/ubuntu/gpg | sudo gpg --dearmor -o /usr/share/keyrings/docker-archive-keyring.gpg
3. Use the following command to set up the stable repository
echo \
  "deb [arch=amd64 signed-by=/usr/share/keyrings/docker-archive-keyring.gpg] https://download.docker.com/linux/ubuntu \
  $(lsb_release -cs) stable" | sudo tee /etc/apt/sources.list.d/docker.list > /dev/null
4. Install Docker Engine.
 sudo apt-get update
 sudo apt-get install docker-ce docker-ce-cli containerd.io
5. install Docker
apt-cache madison docker-ce6. Verify Docker is running on the server.
sudo docker run hello-world7. Install Docker Compose (This command will fetch the latest stable version)
sudo curl -L "https://github.com/docker/compose/releases/download/1.29.2/docker-compose-$(uname -s)-$(uname -m)" -o /usr/local/bin/docker-compose
8. Apply executable permissions
sudo chmod +x /usr/local/bin/docker-compose
9. Check if installed successfully or not.
docker-compose --version10. Proceed to Clone Git.
git clone https://postalserver.io/start/install /opt/postal/install
sudo ln -s /opt/postal/install/bin/postal /usr/bin/postal
11. Install Maria DB
docker run -d \
   --name postal-mariadb \
   -p 127.0.0.1:3306:3306 \
   --restart always \
   -e MARIADB_DATABASE=postal \
   -e MARIADB_ROOT_PASSWORD=postal \
   mariadb
12. Install Rabbit MQ.
docker run -d \
   --name postal-rabbitmq \
   -p 127.0.0.1:5672:5672 \
   --restart always \
   -e RABBITMQ_DEFAULT_USER=postal \
   -e RABBITMQ_DEFAULT_PASS=postal \
   -e RABBITMQ_DEFAULT_VHOST=postal \
   rabbitmq:3.8
13. Once all of the above three steps done. Issue command
sudo apt-get install jq
postal bootstrap postal.yourdomain.com  -- Change yourdomain.com to your actual domain.
14. Once issued, Proceed to edit the postal.yml file.
nano /opt/postal/config/postal.yml15. Replace postal.example.com with your postal.domain.com
16. Initialize Database
postal initialize
postal make-user
Create user with email and password detail.
17. Start Postal
postal start18. Install Caddy.
docker run -d \
   --name postal-caddy \
   --restart always \
   --network host \
   -v /opt/postal/config/Caddyfile:/etc/caddy/Caddyfile \
   -v /opt/postal/caddy-data:/data \
   caddy
19. Login to postal UI using the postal username and password generated on Step16.
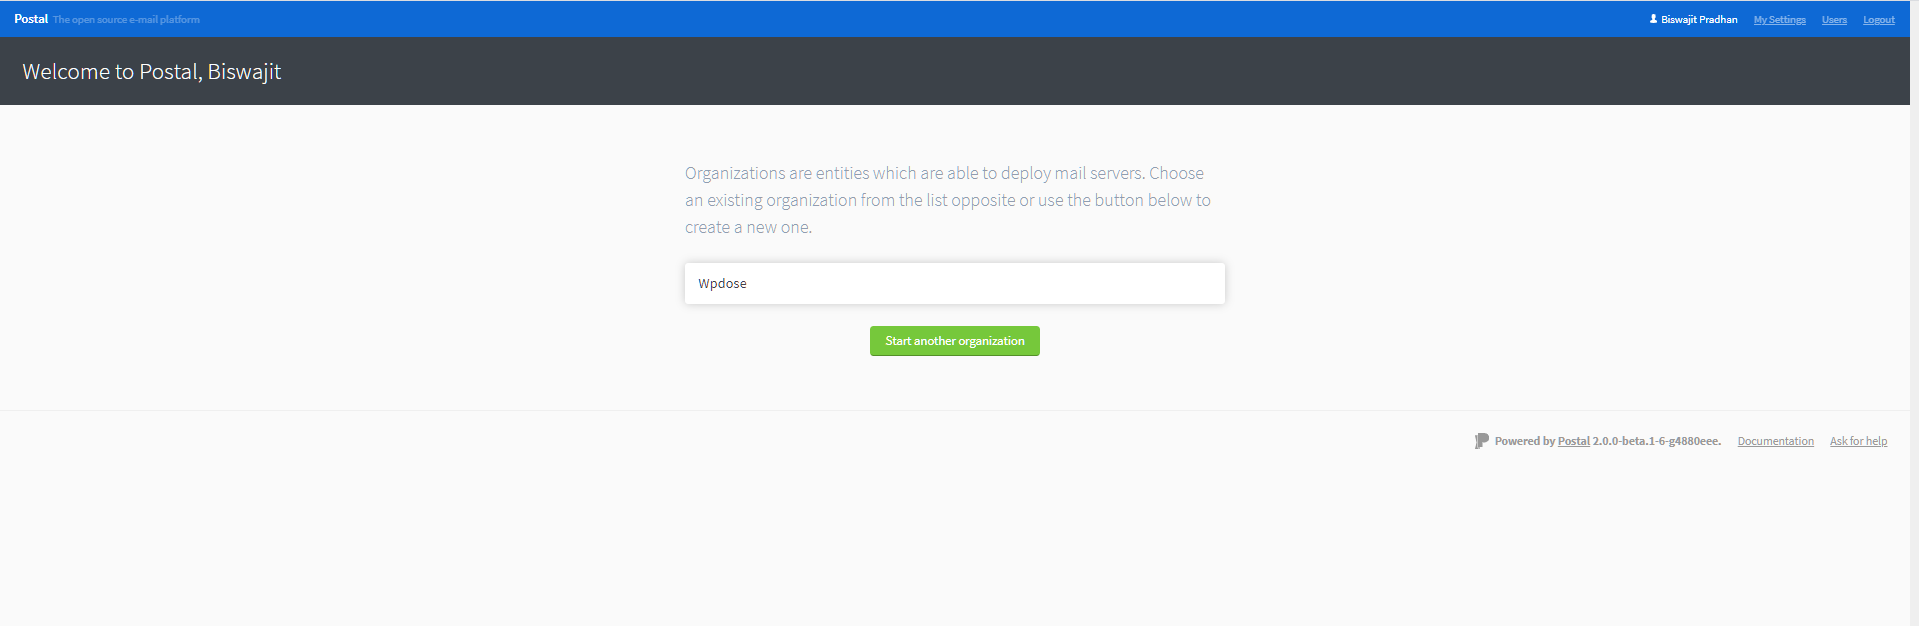
20. Build organization -Mailserver
21. Go to Domain and setup - your domain DKIM/SPF etc.
22. Configure Routes and tracking domains.
A Records
Hostname Type Value postal.example.com A 192.168.1.3postal.example.com AAAA 2a00:1234:abcd:1::3
SPF Record
You can configure a global SPF record for your mail server which means domains don't need to each individually reference your server IPs. This allows you to make changes in the future.
| Hostname | Type | Value |
|---|---|---|
| spf.postal.example.com | TXT | v=spf1 ip4:192.168.1.3/24 ip6:2a00:1234:abcd:1::3/128 ~all |
Return Path
The return path domain is the default domain that is used as the MAIL FROM for all messages sent through a mail server. You should add DNS records as below.
| Hostname | Type | Value |
|---|---|---|
| rp.postal.example.com | A | 192.168.1.3 |
| rp.postal.example.com | AAAA | 2a00:1234:abcd:1::3 |
| rp.postal.example.com | A | 192.168.1.3 |
| rp.postal.example.com | TXT | v=spf1 a mx include:spf.postal.example.com ~all |
| rp.postal.example.com | TXT | Value from postal default-dkim-record |
Route domain
If you wish to receive incoming e-mail by forwarding messages directly to routes in Postal, you'll need to configure a domain for this just to point to your server using an MX record.
| Hostname | Type | Value |
|---|---|---|
| routes.postal.example.com | MX | 10 postal.example.com |
Your postal.yml file should look like this below.
dns:
  mx_records:
    - postal.example.com
  smtp_server_hostname: postal.example.com
  track_domain: postal.example.com
  spf_include: spf.postal.example.com
  return_path: rp.postal.example.com
  route_domain: routes.postal.example.com
If you want to use IP pools.
general:
  use_ip_pools: true
If you want to use spam assassin to check incoming emails you can install Spam Assassin.
sudo apt install spamassassin
sudo systemctl restart spamassassin
Go to postal.yml and then type in
spamd:
  enabled: true
  host: 127.0.0.1
  port: 783
Do a postal restart for it to take effect
postal stop
postal start**********************THIS IS THE END OF THE DOCUMENT******************************